Little Nordic Christmas bags
Published on December 21, 2018 By Meg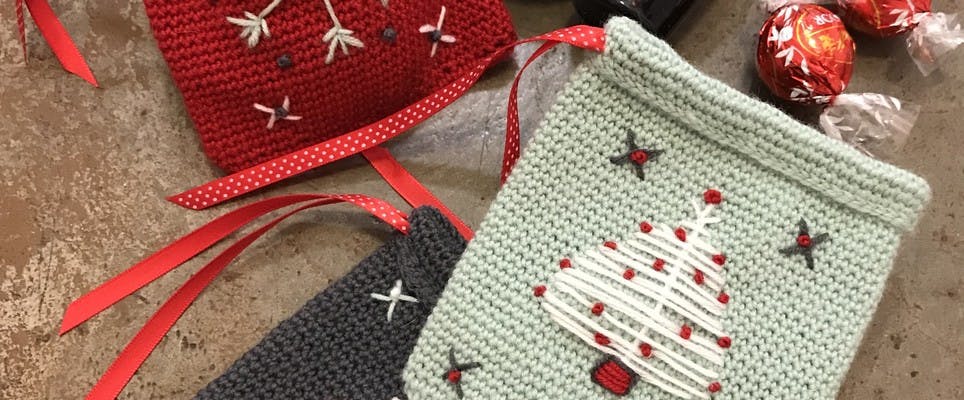
Christmas crochet craft could be the most exciting thing in existence, and with carols, turkey, and family fun on our minds, we couldn’t help but share with you Kate Eastwood from Just Pootling’s latest Christmas pattern.
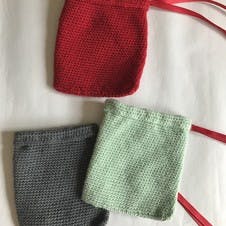
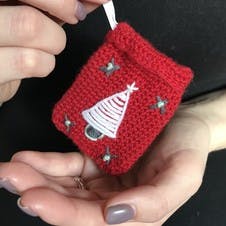
These simply adorable little crochet bags are perfect for filling with chocolate coins and hanging on the Christmas tree for any chocolate-obsessed Christmas elves floating around your home. For a more grown up treat, how about tucking a miniature bottle of Baileys inside and using them as party favours at a special Christmas meal. Each bag, once crocheted, is decorated with a simple Nordic design in the contrasting yarn colors. Can you say Scandi Christmas chic, or what?
Materials
- Debbie Bliss Rialto 4 Ply
- 1 x ball of Mint (56) Debbie Bliss Rialto 4 ply
- 1 x ball of Red (09) Debbie Bliss Rialto 4 ply
- 1 x ball of Ecru (02) Debbie Bliss Rialto 4 ply
- 1 x ball of Grey (04) Debbie Bliss Rialto 4 ply
- Small amounts of co-ordinating thin ribbon for the drawstrings
- 3.5mm crochet hook
- Needle for the embroidery
- Large darning needle for threading the ribbon
1
To make the large bag. For the first round, use any of the colors make a chain of 25. Starting in the second chain from the hook work 23 dc. Work 2dc in to the last st.
2
Continuing on. Working your way down the other side of the chain, work 23 dc. You will now be back at the start of the round. Work 1 dc into the first stitch to join the end of the round back to the beginning. 49 sts.
3
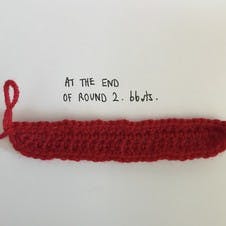
For the second round. * Work 2dc into the first stitch followed by 1 dc into each of the next two stitches.* Repeat from * to * all the way around, finishing with 2dc in the last stitch. 66 sts.
4
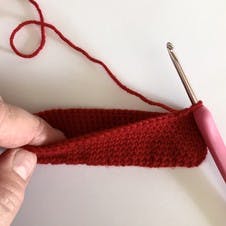
Continue working dc in a continuous round. Do this until your bag measures 10.5cm, finishing at one of the sides. Do not finish off at this point but turn your hook 180 degrees so that instead of working from the outside towards the inside as before, you will now be working from the inside of the bag to the outside. This will create an edge around the top that when folded over will still be the right side. Continue working in rounds of dc until your work measures 12.5cm. Finish off.
5
Finishing touches. Fold over the top edge of the bag to create an overlap for the ribbon to go through. Hold the overlap in place either by working sl st from top to bottom all the way around or by stitching it with a needle and yarn.
6
Add ribbon. Using a large darning needle thread a length of ribbon around the top of the bag.
7
To make the small bag. For round 1, use any of the colors make a chain of 13. Starting in the second chain from the hook work 11 dc. Work 2dc in to the last st.
8
Continuing on. Working your way down the other side of the chain, work 11 dc. You will now be back at the start of the round. Work 1 dc into the first stitch to join the end of the round back to the beginning. 25 sts.
9
For the second round. * Work 2dc into the first stitch followed by 1 dc into each of the next two stitches.* Repeat from * to * all the way around, finishing with 2dc in the last stitch. 34 sts.
10
Continue working dc in a continuous round. Do this until your bag measures 6.5cm, finishing at one of the sides. Do not finish off at this point but turn your hook 180 degrees so that instead of working from the outside towards the inside as before, you will now be working from the inside of the bag to the outside. This will create an edge around the top that when folded over will still be the right side. Continue working in rounds of dc until your work measures 8cm. Finish off.
11
Finishing touches. Fold over the top edge of the bag to create an overlap for the ribbon to go through. Hold the overlap in place either by working sl st from top to bottom all the way around or by stitching it with a needle and yarn.
12
Add ribbon. Using a large darning needle thread a length of ribbon around the top of the bag.
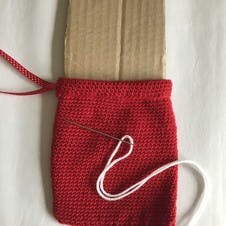
Pro Tip
Insert a piece of card into the bag before decorating to prevent the two sides of the bag getting stitched together.
13

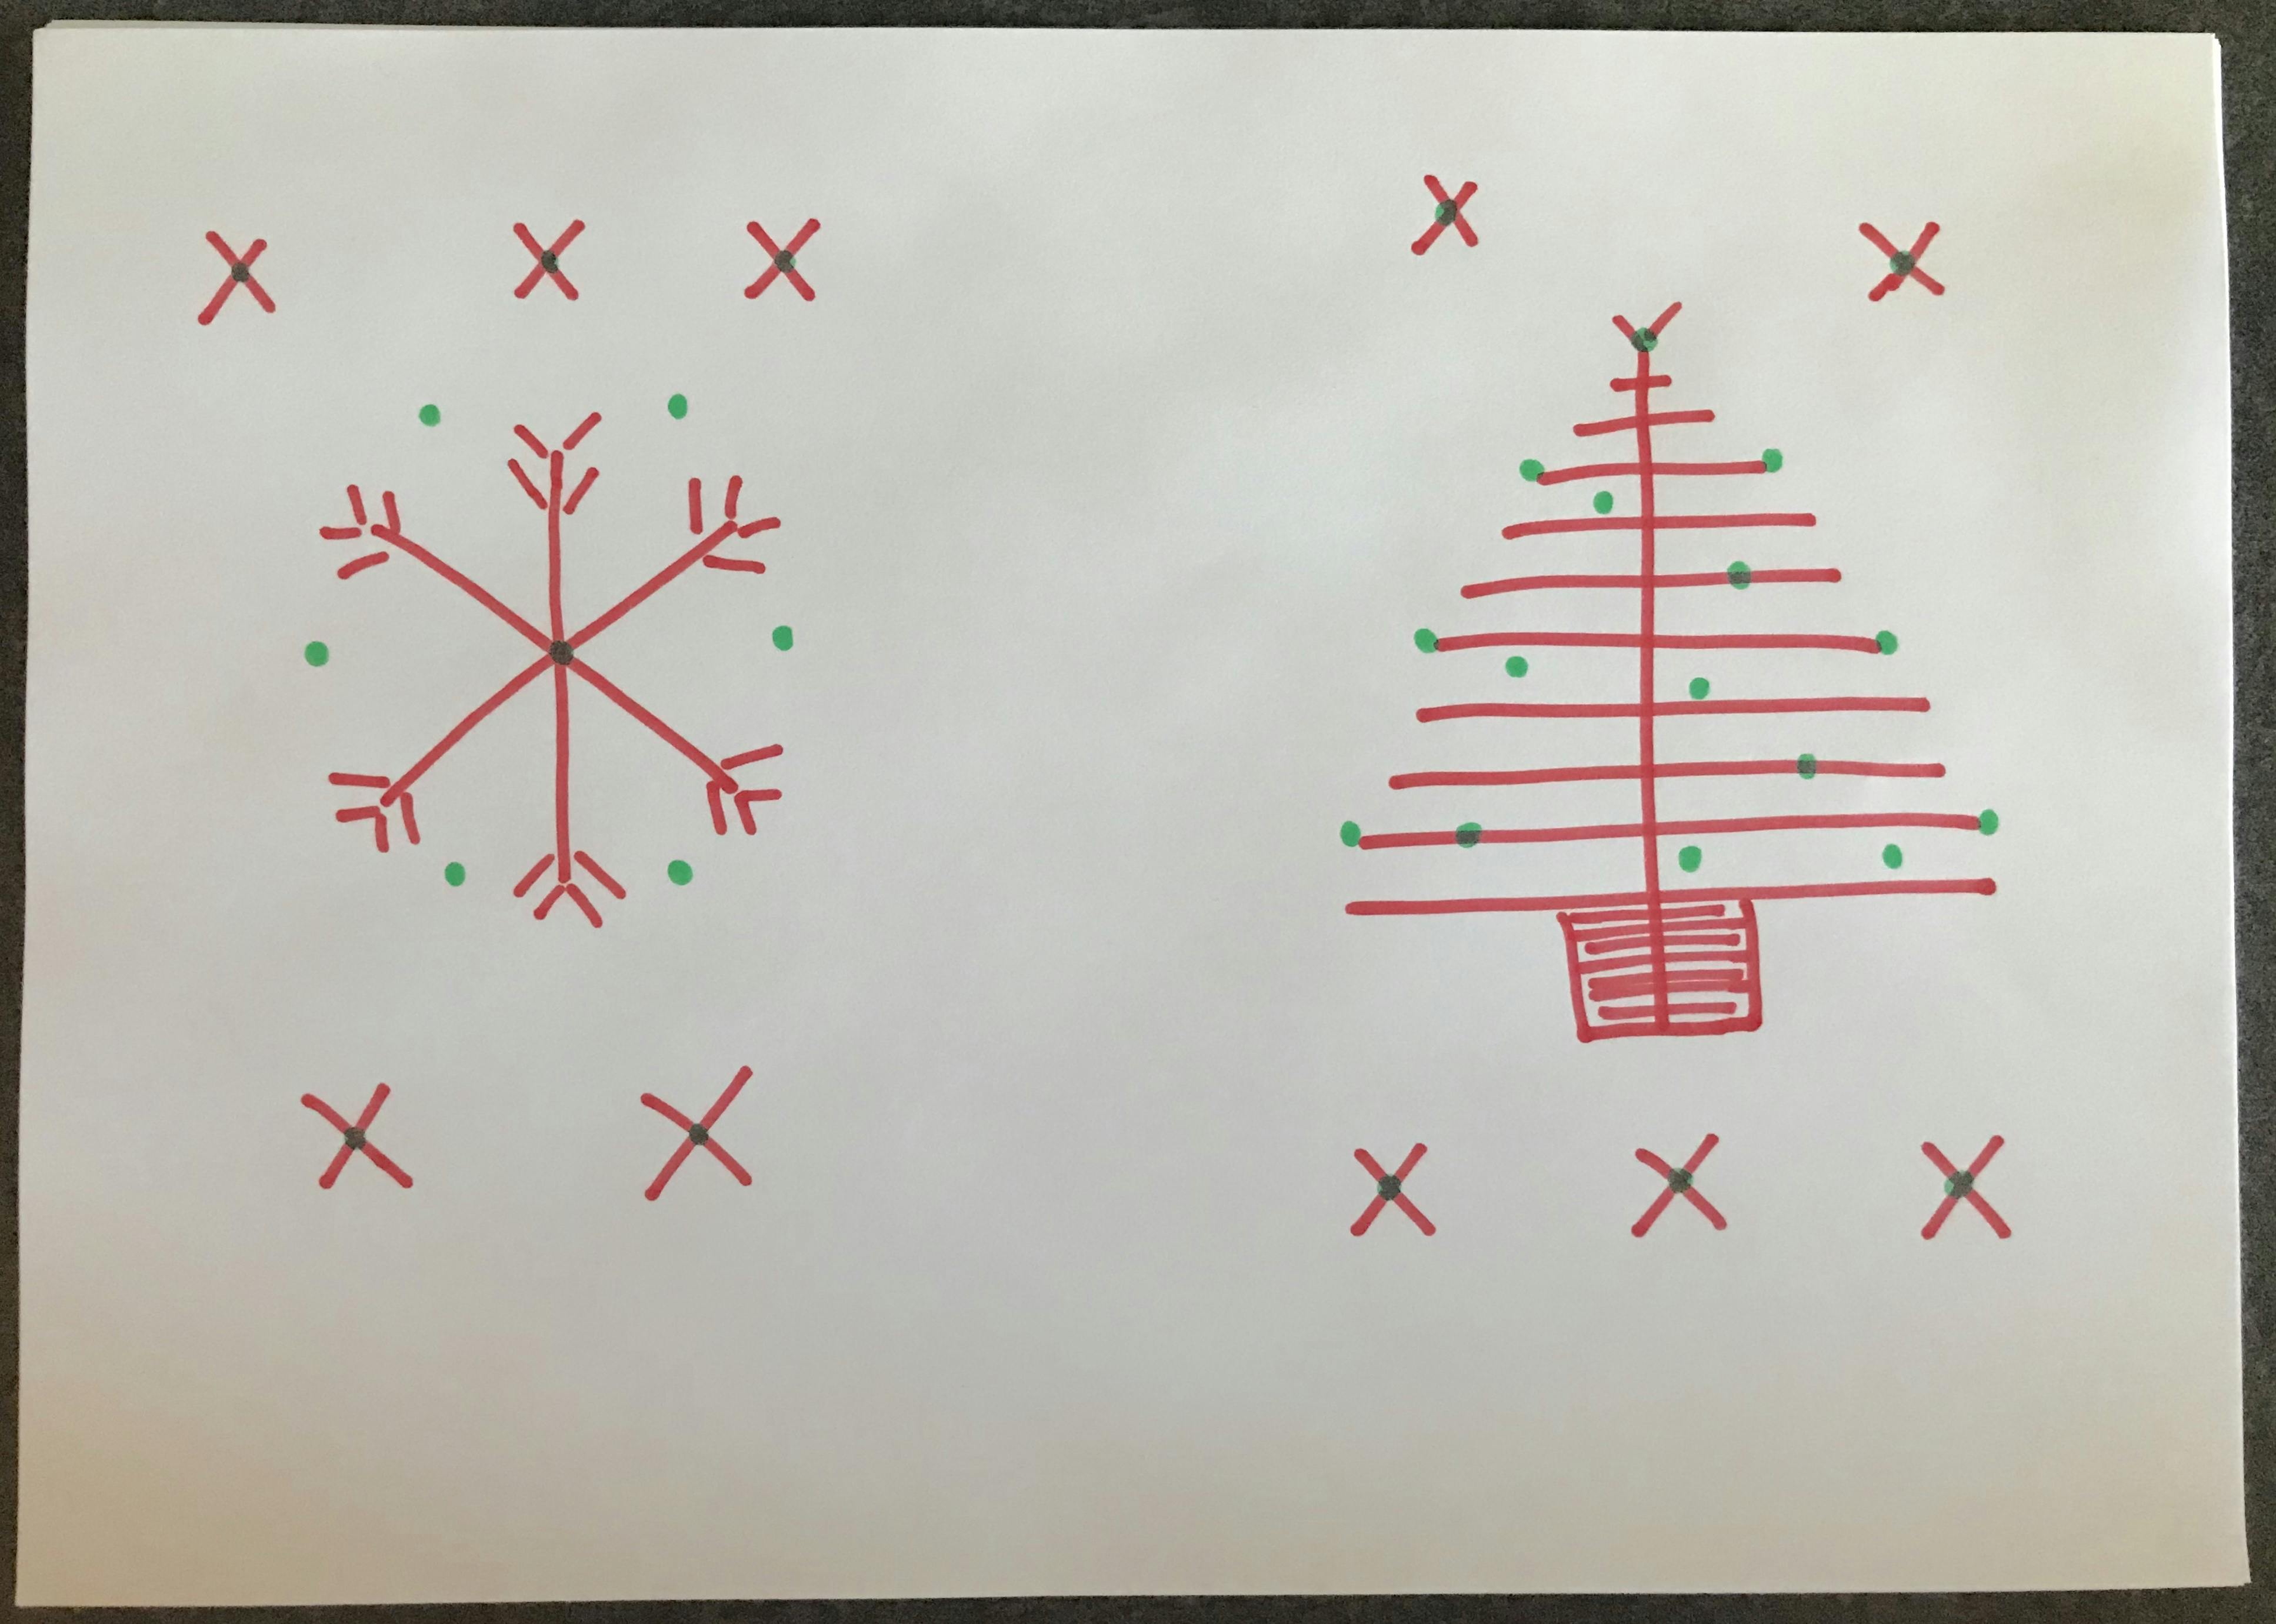
To decorate the bags. The decoration on the bags is very simple as each shape is made up of straight lines. The small circles are French Knots. For the Christmas tree on the small bags, work a triangle and then filled it in with more straight lines, like in Kate Eastwood's template.