How to crochet a pumpkin and little baby boo pumpkins
Published on October 19, 2018 By Kate Eastwood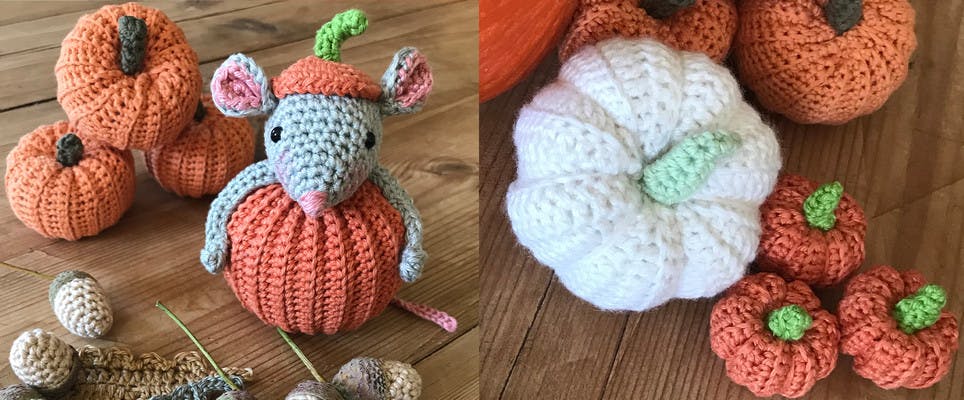
If you’re anything like me, around this time of year you will find yourself hot footing it to the nearest supermarket or garden centre to find that most important fall accessory – the pumpkin! As a child this was one of the most exciting things about October as it was the first sign of the night’s drawing in and the new season arriving. As an adult those same feelings are all still there and the annual pumpkin shopping spree is still a big highlight. And, oh my goodness, what a choice there is today!
With pumpkins being part of the gourd family, over the last few years, all the other gourds and squashes have been invited in to the mix, making the decision of which one is ‘the perfect one’ so much harder. From the traditional orange pumpkin, to the glossy white baby boo’s, to all the knobbly, bobbly, weird and wonderful squashes and gourds, the choice is endless.
Without a doubt they are a thing of wonderful, colorful beauty, a celebration of fall arriving and the harvest coming in – and it therefore seems completely right that they should be honoured with their very own special day; National Pumpkin Day, on the 26th October.
Now, obviously there are all sorts of things you can do with your treasured pumpkin once it is safely home and sat on your kitchen table. It can be carved in to a Jack-O-Lantern and a tea light popped inside, it can simply be placed on a mantelpiece as a colorful fall display and of course, for the cooks out there, it can quickly be turned in to a steaming hot pumpkin soup or a warm and spicy pumpkin pie. But for me, as well as adding a lovely burst of color around the house, they are an instant source of crochet inspiration! Every year I just cannot stop myself from having a good old rummage through my left over yarns, grabbing my crochet hook and becoming happily ensconced hooking away lots of little orange treasures. To me there is something deeply satisfying about their plump roundness, their color and the quickness of the make. At this time of the year you won’t find many bare shelves in our house as those little pumpkins seem to creep in everywhere.
This year, to add my collection of yarny pumpkins, I have come up with a couple of slightly different designs. First, along came Pumpkin Mouse – a little tiny mouse who has snuggled up inside his cosy pumpkin house, and is popping his head out to see what is going on. Then, for a color change, I made some baby boo’s, a definite favourite of mine at this time of year. And last, but not least, the smallest of smallest pumpkins to go on a keyring – I mean, who doesn’t need a special keyring at this time of year for their broomstick cupboard?
The basic pumpkin really couldn’t be simpler to make and I have put together a picture grid below, with numbered steps, to make it all the easier.
Materials
1
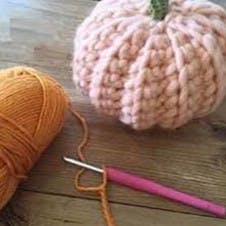
Make a chain. Starting in the second chain from the hook, work a row of dc. Chain 1 and turn at the end of the row (and each following row). Make a chain as long as you want the height of your pumpkin to be.
2
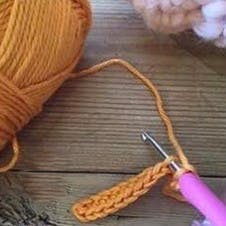
Make a chain. Starting in the second chain from the hook, work a row of dc. Chain 1 and turn at the end of the row (and each following row). Make a chain as long as you want the height of your pumpkin to be.
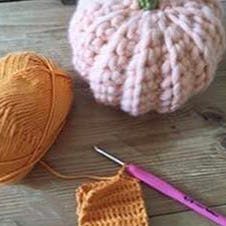
3

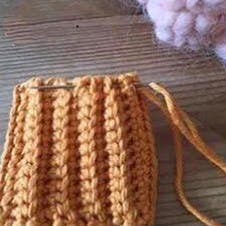
Create the width of your pumpkin. Continue working rows of dc, working in to the back loops only. The finished length of the rectangle will be the diameter of your pumpkin. (As a general and approximate rule of thumb, if you work the rectangle to be twice the length of the width, the proportions of the finished pumpkin will look about right.)
4
Fold. Fold the rectangle in half so that the two short edges meet and dc the two edges together. Finish off leaving a long yarn tail.
5
Finish off. Use the long yarn tail to sew a gathering thread all around one of the long edges of the pumpkin. Pull up the thread to close the hole and finish off securely.

Stuff it. Turn the pumpkin the right way out, so that the seams are on the inside, and run a second row of gathering around the other long edge. Stuff the pumpkin with toy stuffing. Pull up the thread and close the hole securely. Now thread the yarn through from the top of the pumpkin to the bottom and pull it tight. This will create an indent at the top of the pumpkin, where the stalk will go. Fasten the yarn securely.
6
Make the stalk. Using green yarn work a short chain and three to four rows of dc. Finish off leaving a long yarn tail. Roll the rectangle up to make a stalk and use the yarn tail to sew a few stitches to hold it in shape. Attach the stalk to the pumpkin.
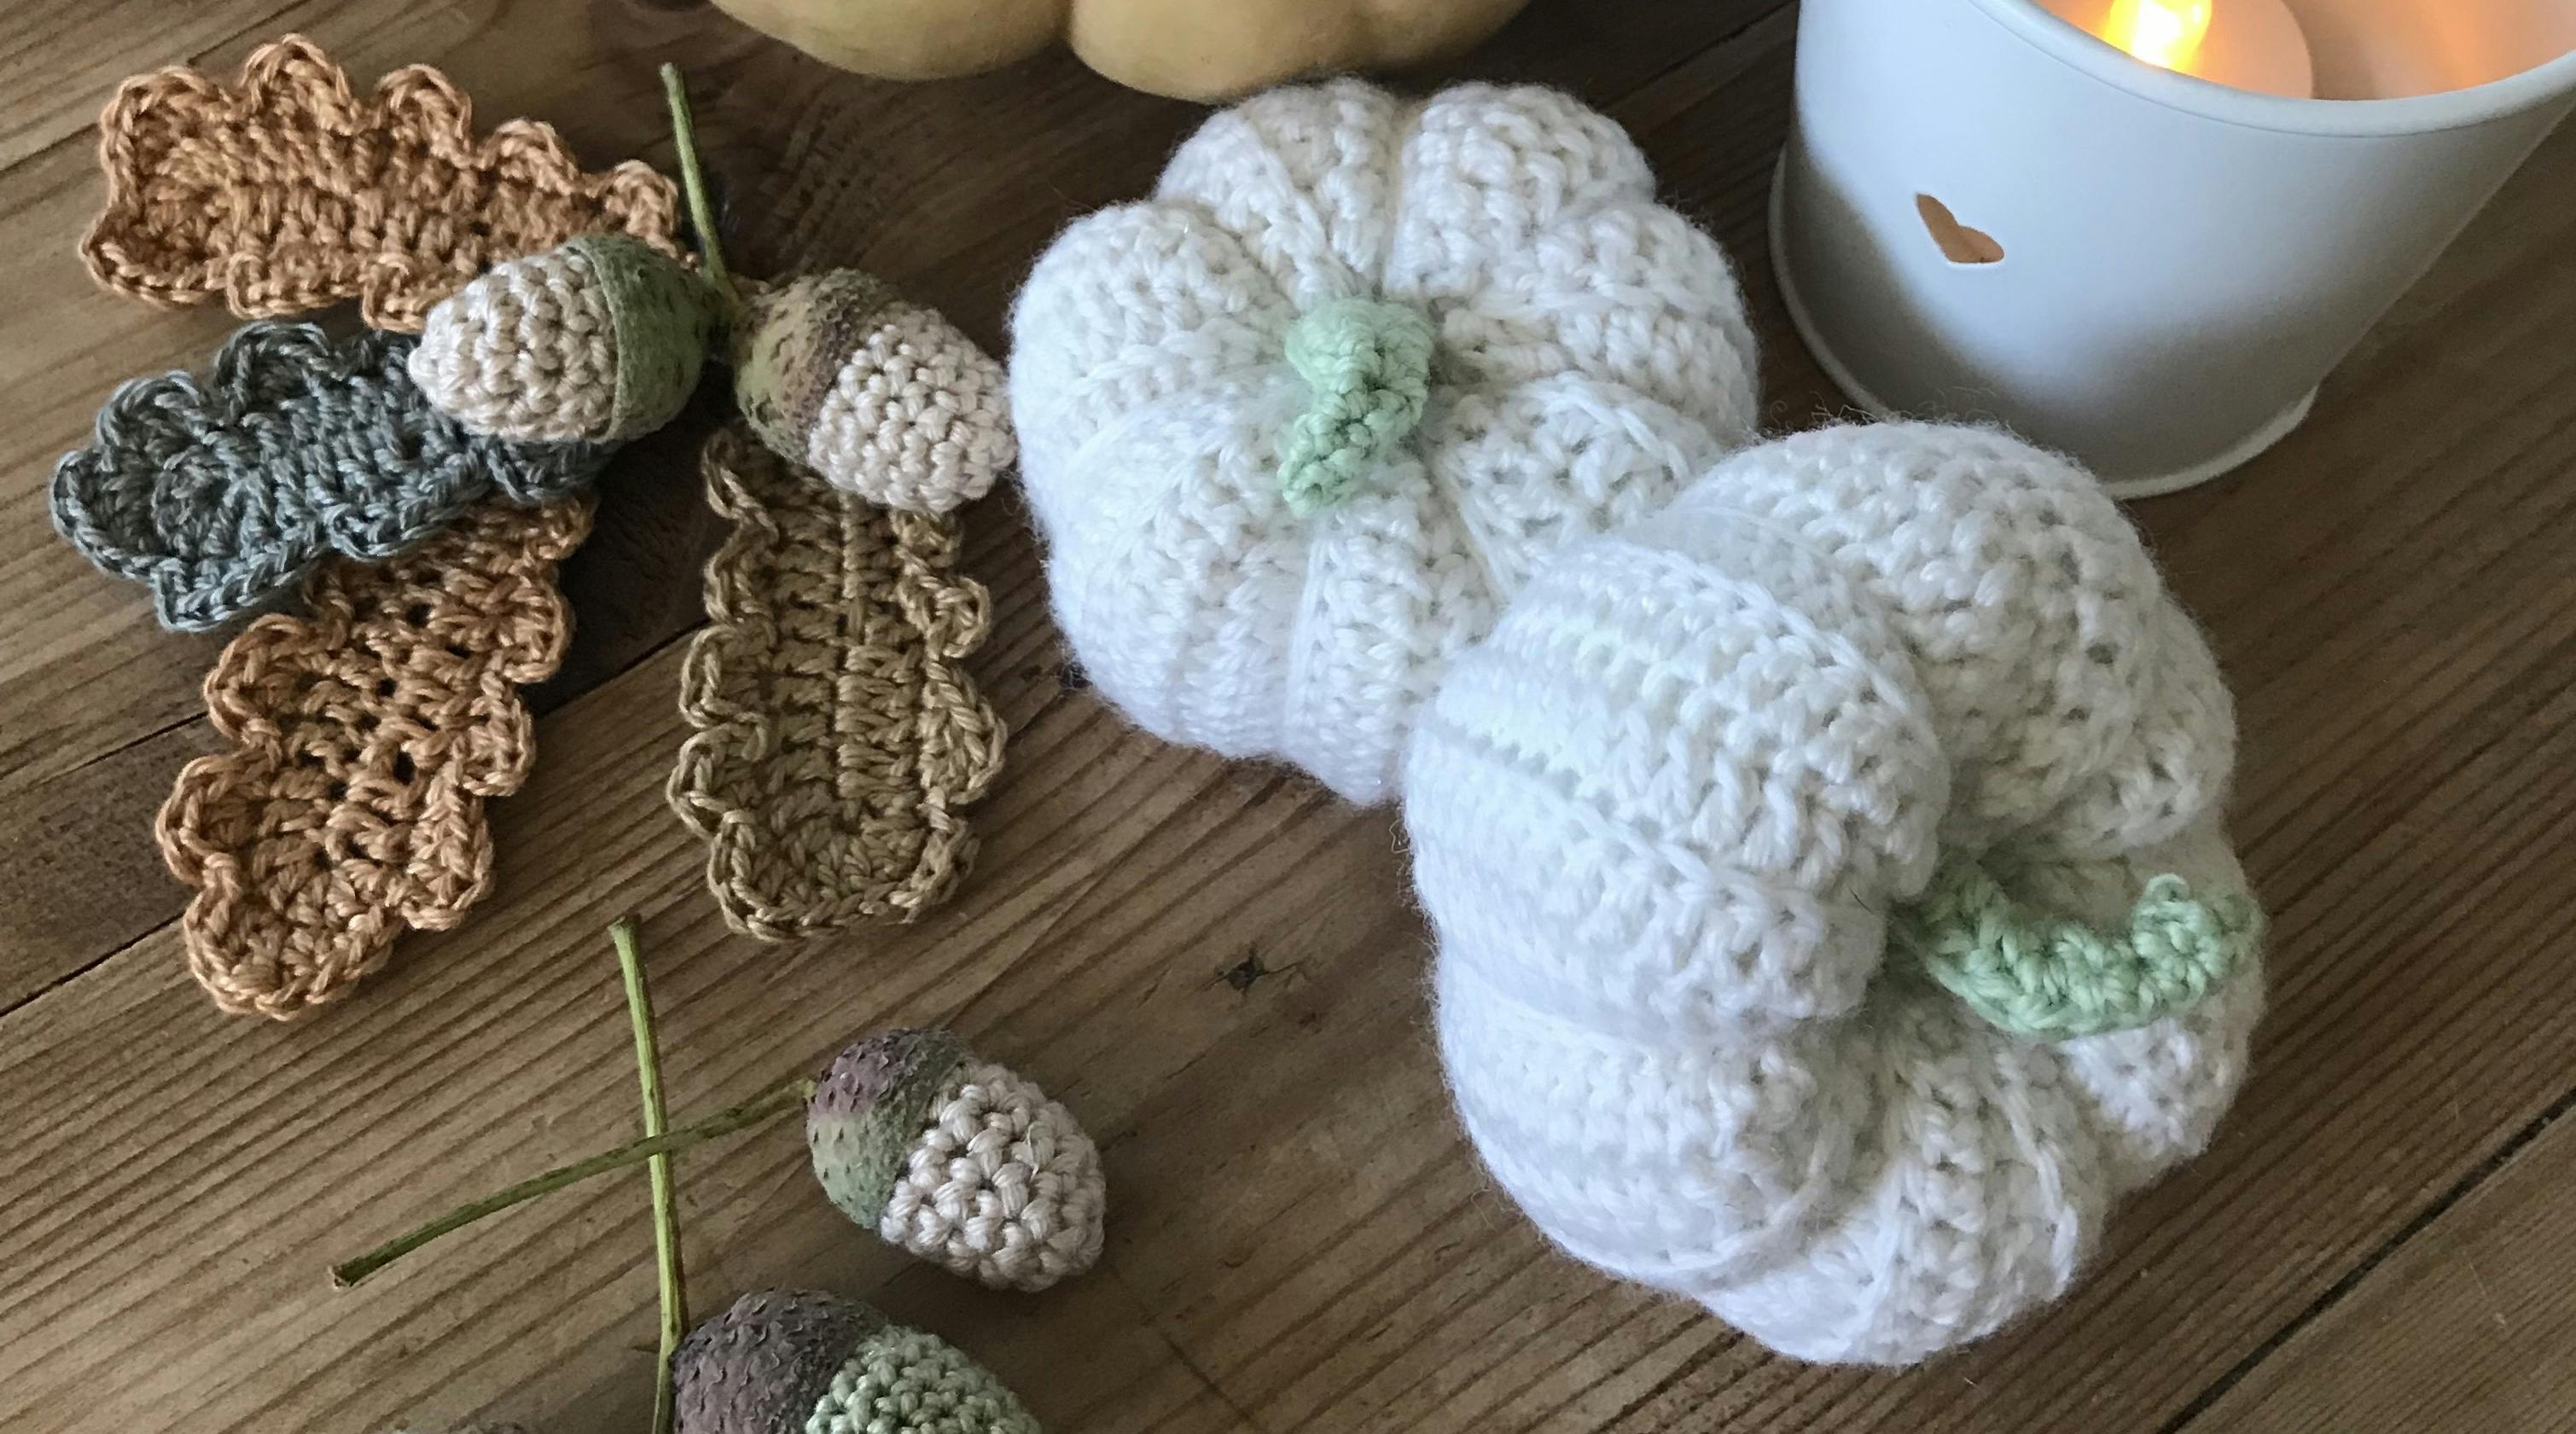
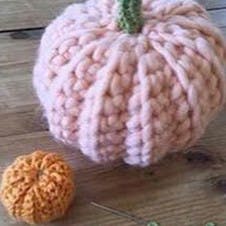
How to crochet the baby boo pumpkins
For the baby boos I worked the pattern in exactly the same way and then, before adding the stalk, I added a little extra definition by making deeper ridges to the pumpkin. To do this thread a long piece of the same colored yarn and push the needle up through the pumpkin, from the centre bottom of the pumpkin to the centre top. Then bring the yarn down over the outside of the pumpkin and thread it back up through the bottom to the top again, pulling tightly. Do this several times so that you are creating the effect of segments all around the outside edge of the pumpkin. Finish off securely and add the stalk.
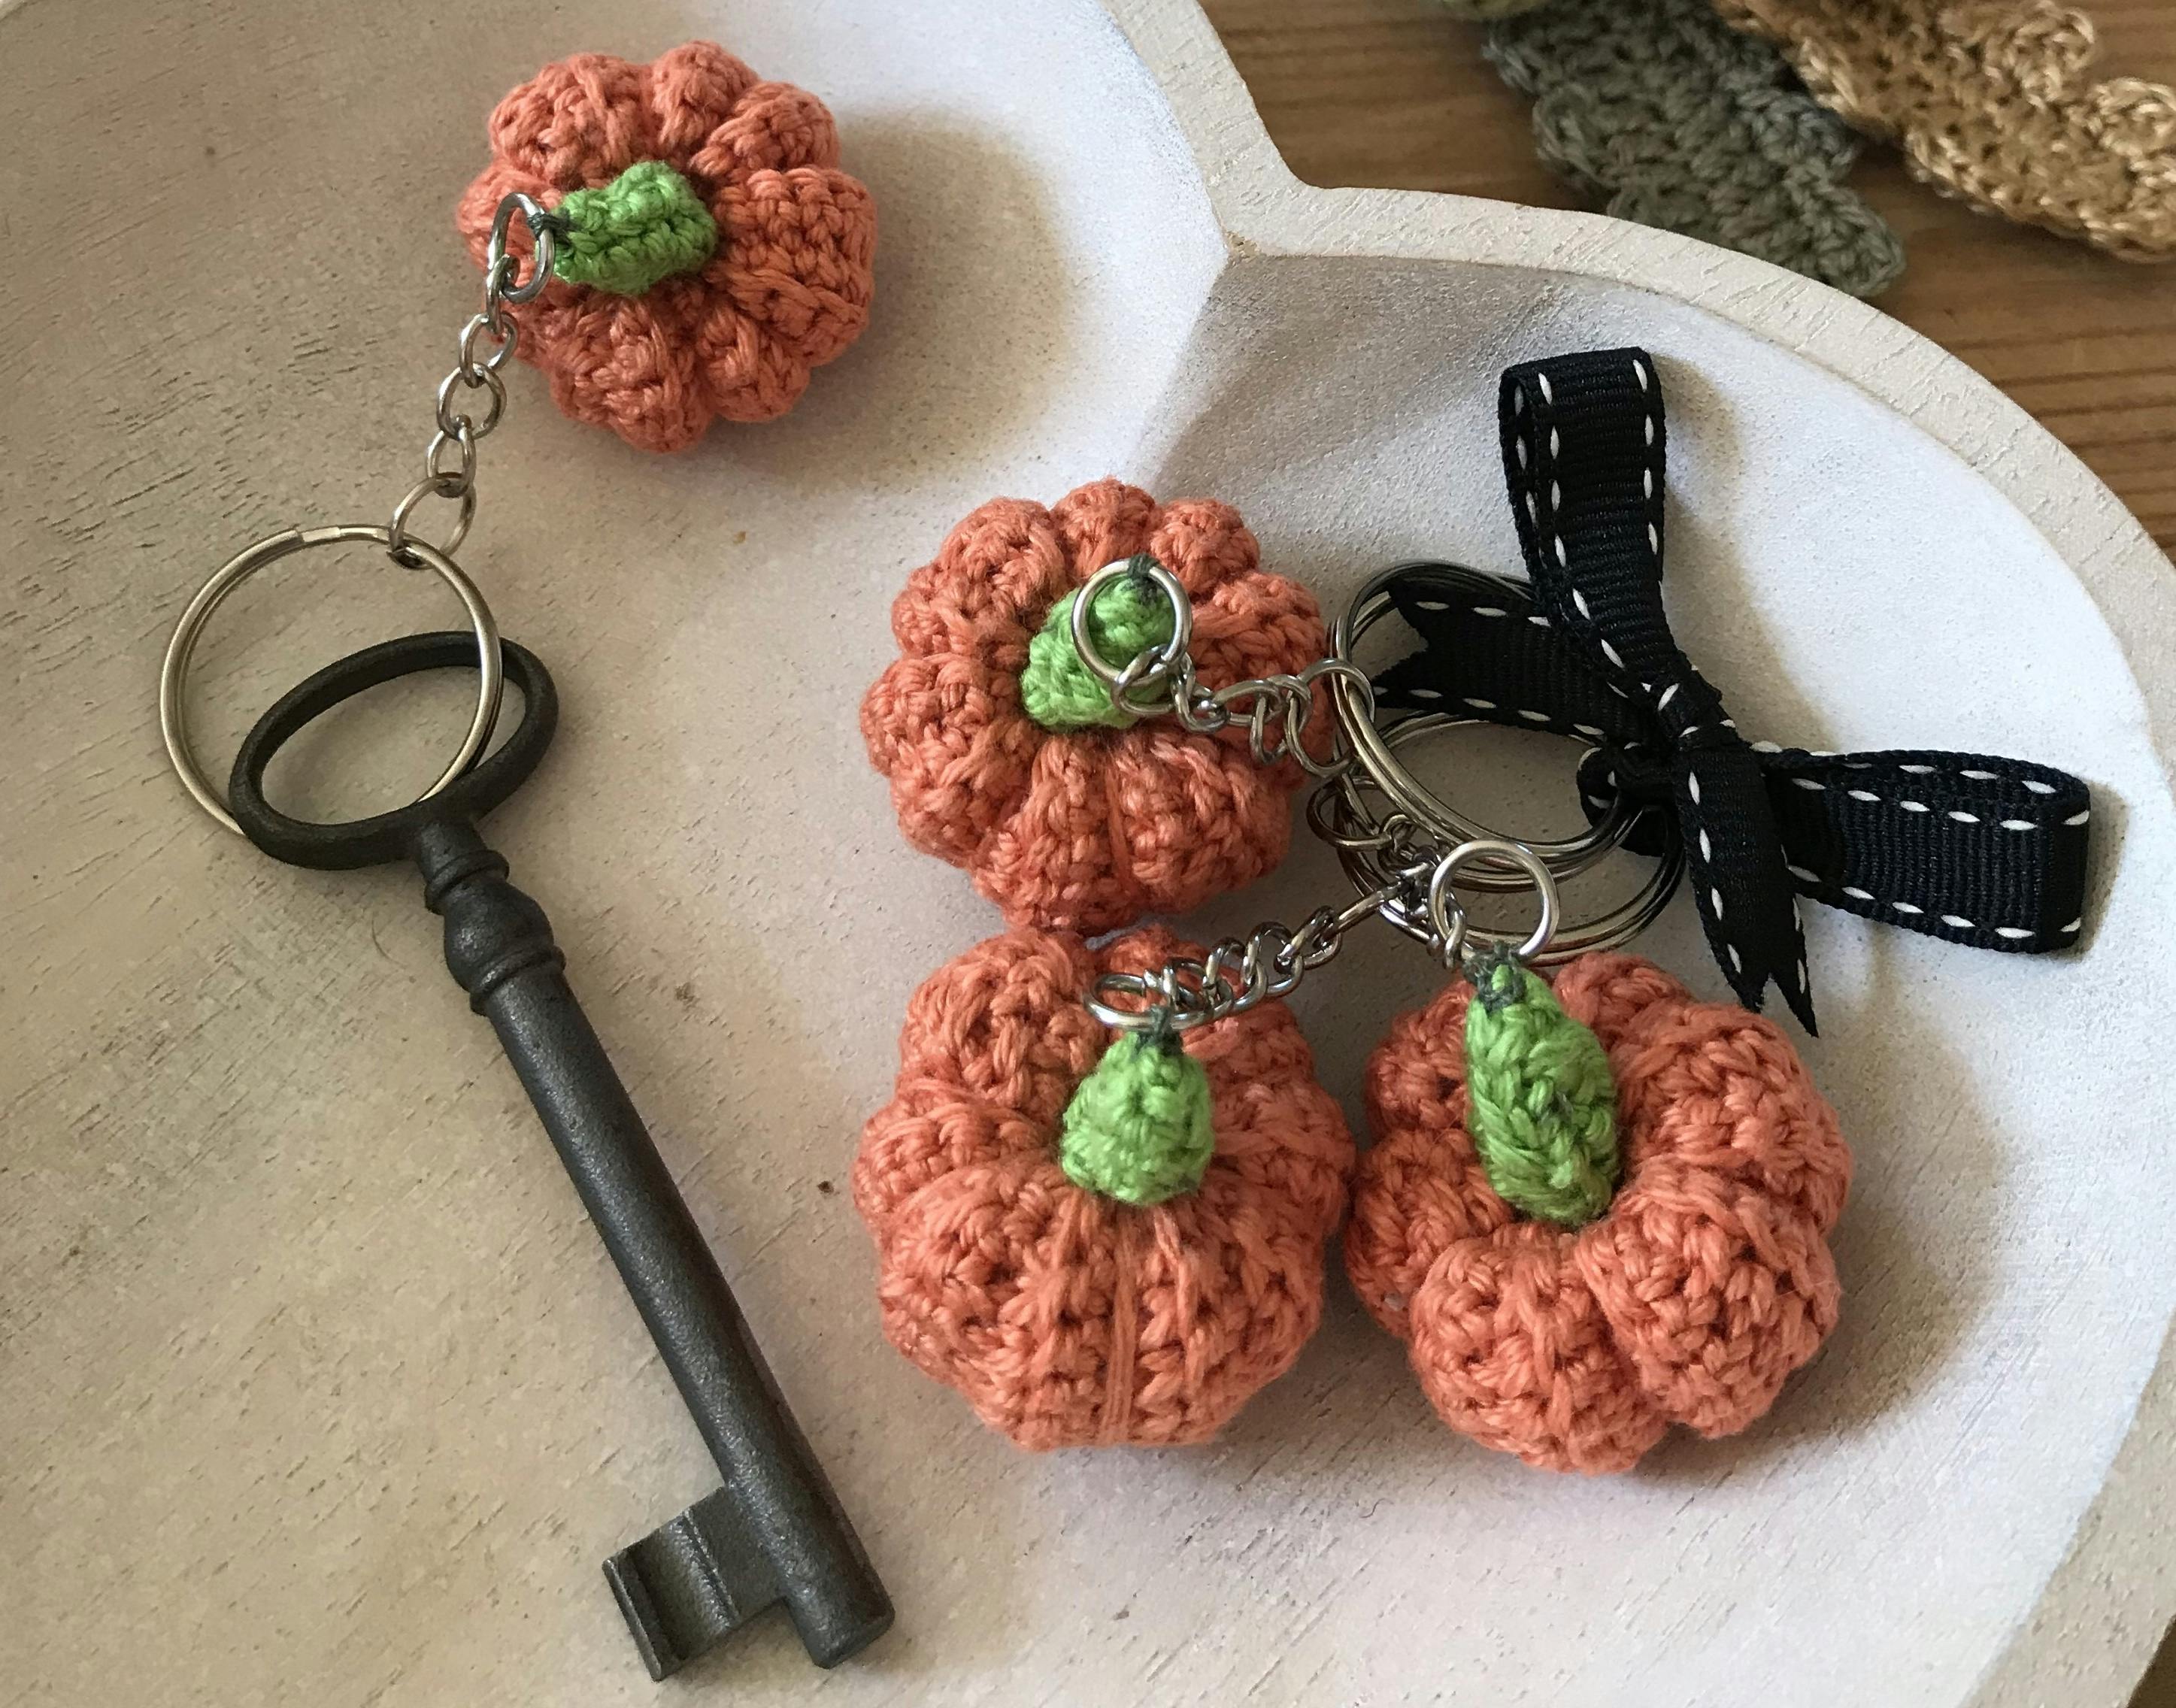
How to crochet the pumpkin keyring
For the Pumpkin keyring I worked to exactly the same original pattern, using a 4 ply yarn and a 2.5mm hook. My starting chain was 12 (4 cm long) and I worked the rectangle until it measured 8cm. Once finished I stitched a keyring chain to the tip of the stalk.
Why not give them a go! Be warned though, they are very addictive. Happy Pumpkin Day!
Post by Kate Eastwood. Living just outside Bath, Kate is fortunate enough to be able to indulge two of her biggest loves - living right in the middle of the countryside but within easy distance of retail therapy. When not working at her nursery school she loves nothing more than a day of pootling around, with crochet, sofa and tea being right at the top of the list.